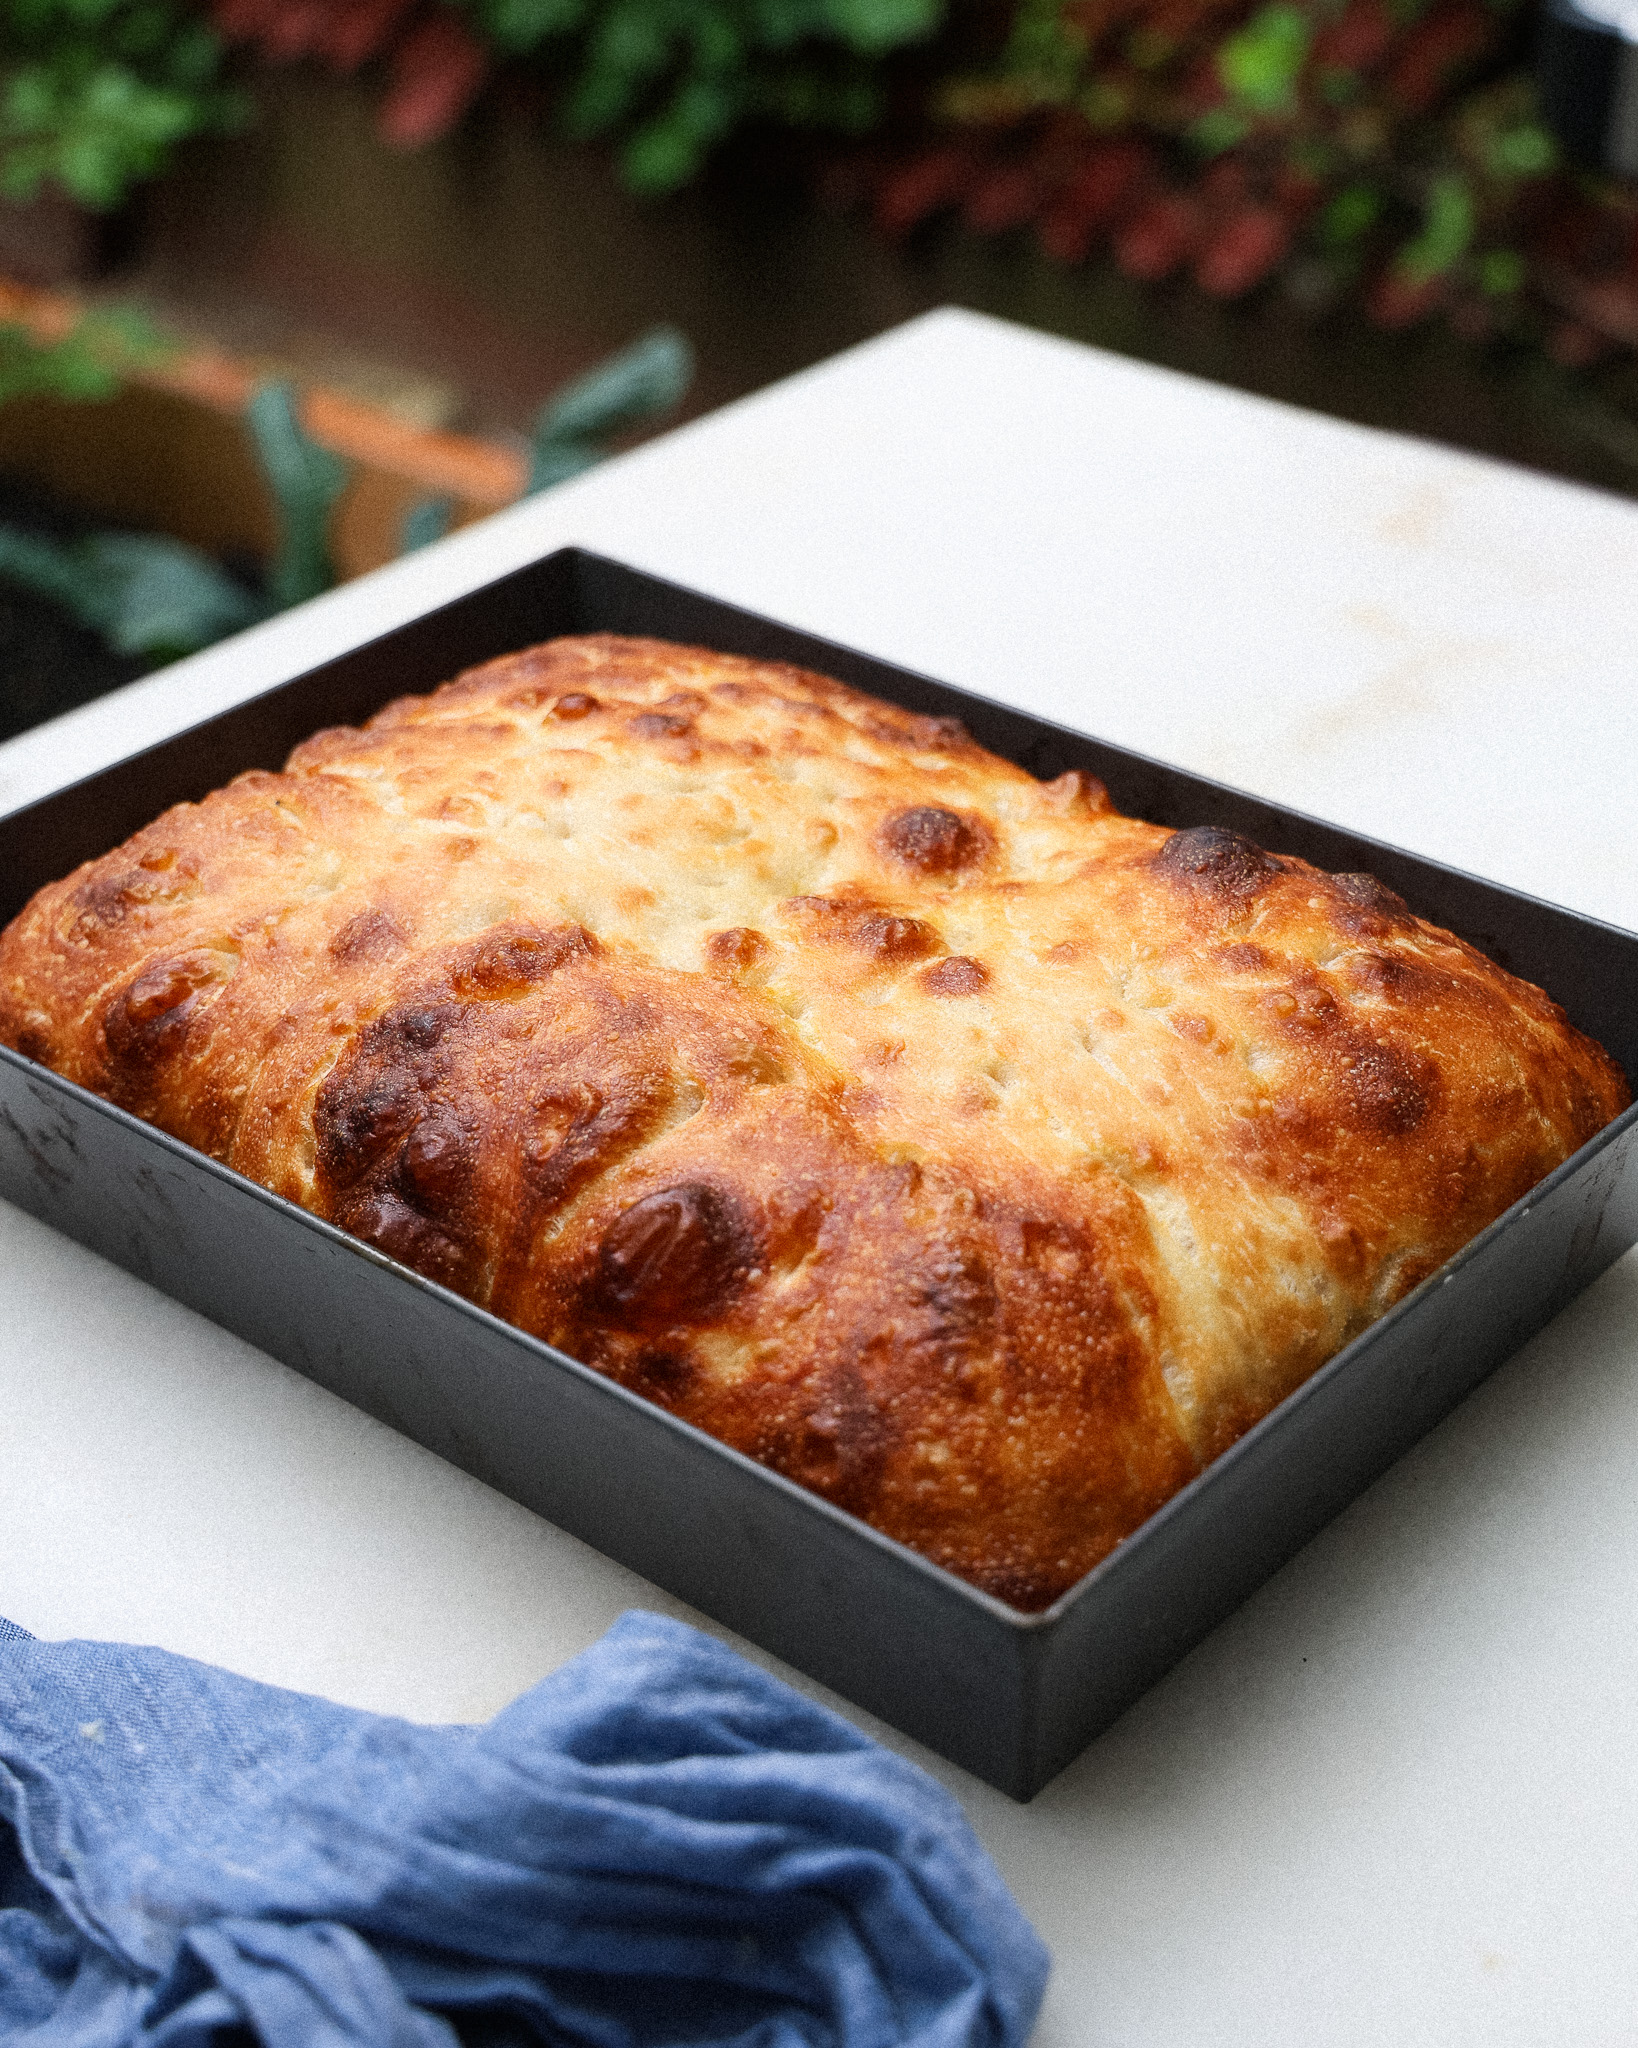
There is currently a New York City bakery that has a pretty phenomenal sourdough focaccia. After a few visits and countless days where I couldn't stop thinking about it, I decided to watch their (relatively vague) recipe video and inject some measurements into it to make what I think is the perfect sourdough focaccia. It's chewy, fluffy, incredibly crisp on the bottom and rich from olive oil. It takes a bit of time, but it's hands-down the best focaccia I have ever made.
Prep time: PT360M
Cook time: PT20M
Rating
5 stars (5 reviews)
Keywords
focaccia, sourdough, sourdough starter
Ingredients
50 grams sourdough starter
50 grams bread flour
50 grams cool water
750 grams bread flour (I like King Arthur brand)
600 grams warm water, 78-85°F
150 grams active levain (ie. the mixture above)
2 grams active dry yeast
15 grams Diamond Crystal kosher salt
15 grams granulated sugar
75 grams warm water, 78-85°F
1/2 cup extra-virgin olive oil
2 teaspoons flaky salt
Categories
Appetizer
Bread
Side Dish
Cuisine
American
Fusion
Italian
Steps
Start the dough the day before you plan to bake. About 4-6 hours before you plan to begin the dough, mix the levain. Mix together 50 grams of rested sourdough starter, 50 grams of bread flour and 50 grams of cool water. Let this activate until doubled in size and very bubbly, about 4-6 hours.
When the levain is bubbly and doubled in size, begin mixing the focaccia dough. Start with an autolyse: in the bowl of a stand mixer, mix together the 750 grams of bread flour and 600 grams of warm water. Cover with a damp towel and let rest for 30 minutes.
Add in the 150 grams of active levain, 2 grams of active dry yeast, 15 grams of salt, 15 grams of granulated sugar, and 75 grams of warm water.
Using the hook attachment on the mixer, mix on medium speed for ten minutes. The dough will look like a batter. Stop the mixer and scrape down the sides.
Here is where it gets a bit annoying, but it is so worth it in the end. Continue to mix on medium high speed for 10-15 minutes. I suggest letting it run on your counter and leaving the room for a bit - it can feel like a long amount of time! The dough will go from wet batter consistency to tacky and pulling away from the sides. Come back for the last few minutes, and if it needs a bit of encouragement, turn the mixer up to its highest setting. Trust the process, this is my least favorite part, too.
When you can reach in and stretch up the dough with your hands, then it is time to transfer to the pan you are baking it in. Make sure the pan is at least 2.5 inches deep.
Begin the first series of "slaps and folds." Using a damp hand, lift the dough up completely, then "slap" it down on itself and gently fold it toward you so that it rests into a mound. Repeat this again, and as you slap and fold you'll start to see the dough gain more structure. Repeat until you have a tight mound of dough in the center of the pan. Cover with a damp towel and let rest for 30 minutes.
After 30 minutes, repeat the slaps and folds again. Cover and repeat this step two more times, for a total of four rounds of "slaps and folds." This is building up gluten and dough elasticity.
After the last slap and fold, transfer the dough to the fridge and let it proof for 12 hours up to overnight.
The next day, remove the dough from the fridge and let it come to room temperature, about 2 hours. It should have relaxed out to all sides of the pan and be very bubbly.
Gently scoop the dough out of the pan and set it to the side. Coat the pan in 1/2 cup of olive oil. Add the dough back in, then "stitch" it up the center like you would a sourdough (see Note**). Cover and let the dough proof another hour and a half, or until it has fully relaxed to the edges of the pan and is bubbly.
Preheat the oven to 550°F. (Or as high as it can reach to that point).
When the dough is ready, dab your fingers in a little of the olive oil pooling at the edges, then dimple the dough, pressing all the way to the bottom of the pan.
Sprinkle the top of the dough with flaky salt and bake for 18-19 minutes or until dark golden on top. You'd rather this be a little darker on top than light.
Remove from the oven, let it cool to the touch before removing it from the pan. Slice, and serve!
Reviews
Clara Leach on 2025-06-30 (5 stars): This is pretty addictive stuff. I made some when my parents were visiting and they and my fiancé ate the entire pan with such intense vigor that less than half was left by the time dinner rolled around (and they crushed the rest of it by dessert).
That being said, I had issues with hydration. As suggested, I used KA bread flour, but it really would not come together on its own even after considerable time in the Kitchen Aid. I ended up adding quite a bit more bread flour to try to salvage it and eventually it was at least transferable to the pan (though I still didn’t quite get the consistency Justine did). Nevertheless, I followed the rest of the instructions as well I could even though it was a bit gloppy mess. It fell apart immediately when I stitched it but I coerced it into a few turns. Luckily it still expanded quite a bit and got lots of big bubbles. I assume it might have been a difference in starter hydration and/or kitchen humidity. Not sure, but it worked out!
I did a classic garlic and rosemary (added garlic in the dimples, rosemary after it baked with more maldon salt). I will definitely make it again soon and probably do something more creative for toppings, but even plain this is divine. Highly recommend!
Sarah P on 2025-06-28 (5 stars): Definitely had something to do with it. I’m in Minneapolis so like to use local-ish Bakersfield flours!
Leilane on 2025-06-27 (5 stars): OMG!! I had to come here and thank you for this recipe. I had so far a very good focaccia recipe, but this one goes beyond. It is really the best I've ever had. Absolutely amazing 💜
Kylie on 2025-06-20 (5 stars): Absolutely amazing! My focaccia turned out so good and its the first time I've cooked focaccia on the bbq too! Thank you for sharing this recipe
Stella on 2025-06-17 (5 stars): this turned out AMAZING!!! definitely recommend giving it a try.