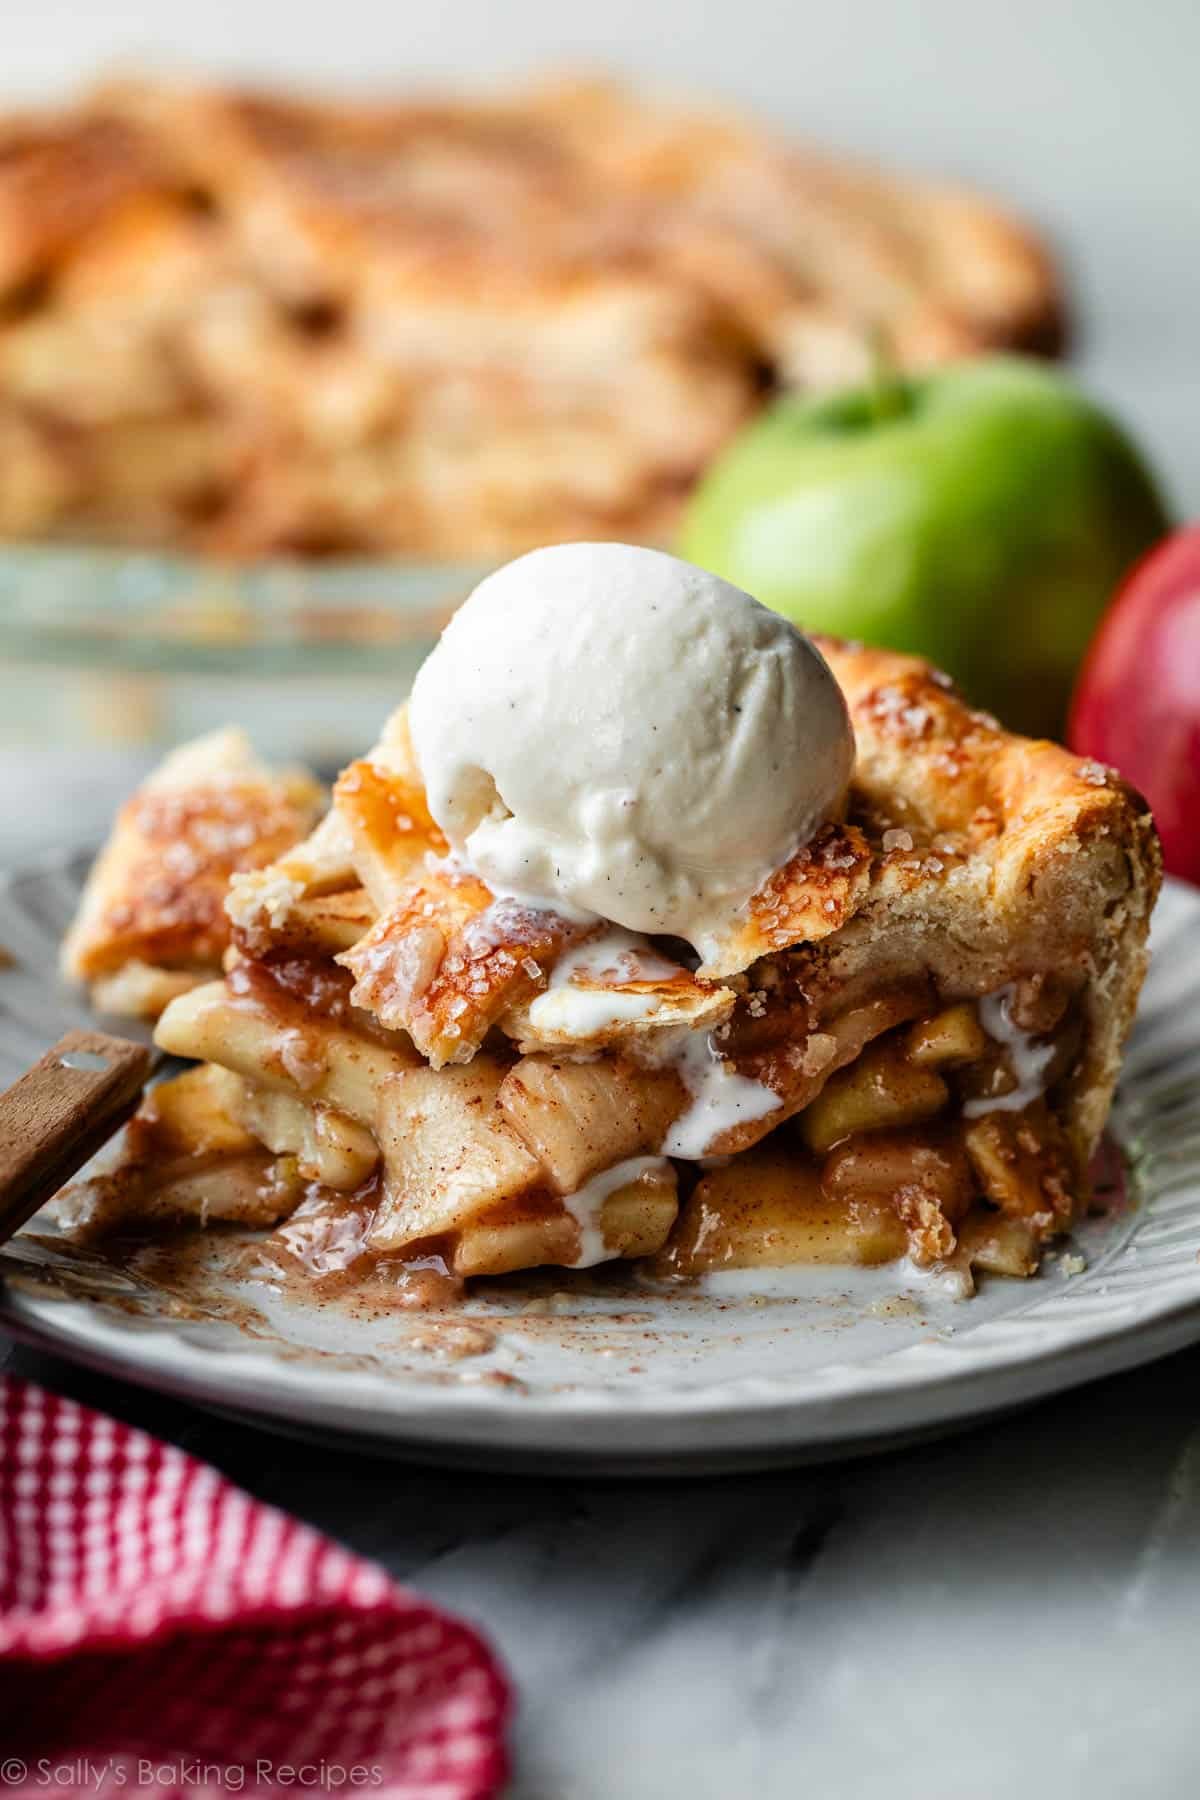
With a mountain of gooey, cinnamon-kissed apples nestled under a perfectly buttery and flaky pie crust, this is most certainly my favorite apple pie recipe. To bring out the best apple flavor and texture, pre-cook the filling for only about 5 minutes on the stove. Bake and cool the pie, and then top with vanilla ice cream for the ultimate homestyle dessert. This recipe is also in my cookbook, Sally's Baking 101.
Recipe by Sally on October 5, 2023
Prep time: PT3H
Cook time: PT1H5M
Total time: PT7H
Rating
4.8 stars ( reviews)
Keywords
apple pie
Ingredients
Homemade Pie Crust or All Butter Pie Crust (both recipes make 2 crusts, 1 for bottom and 1 for top)
10 cups (1250g) 1/4-inch-thick apple slices (about 8 large peeled and cored apples)*
1/2 cup (100g) granulated sugar (or packed brown sugar)
1/4 cup (31g) all-purpose flour (spooned & leveled)
1 Tablespoon (15ml) lemon juice
1 and 1/2 teaspoons ground cinnamon
1/4 teaspoon ground allspice
1/4 teaspoon ground nutmeg
egg wash: 1 large egg beaten with 1 Tablespoon (15ml) milk
optional: coarse sugar for sprinkling on crust
Categories
Pie
Cuisine
American
Steps
Prepare either pie crust recipe through step 5. The pie dough needs to be refrigerated for at least 2 hours before using.
On a floured work surface, roll out one of the discs of chilled dough (keep the other one in the refrigerator). Turn the dough about a quarter turn after every few rolls until you have a circle 12 inches in diameter. Carefully place the dough into a 9-inch pie dish that’s 1.5 to 2 inches deep. Tuck the dough in with your fingers, making sure it is smooth. Place the pie shell in the refrigerator while you prepare the filling.
In a large bowl, stir the apple slices, sugar, flour, lemon juice, cinnamon, allspice, and nutmeg together until thoroughly combined.
Pour the apple filling into a very large skillet or Dutch oven. Cook over medium heat, stirring gently, until the apples begin to soften, about 5 minutes. Remove from heat and set aside to slightly cool. This step is optional, but I’ve found it makes for a juicier, more flavorful filling because it helps begin to soften the apples. If you can, take the few extra minutes to do this, because the flavor is worth it!
Preheat oven to 400°F (204°C).
Spoon the filling into the crust. It’s ok if it is still warm from the precooking step. It will seem like a lot of apples; that’s ok. Pile them high, and tightly together.
Remove the other disc of chilled pie dough from the refrigerator. Roll the dough into a circle that is 12 inches diameter. Using a pastry wheel, sharp knife, or pizza cutter, cut strips of dough; in the pictured pie, I cut 12 1-inch-wide strips. Carefully thread the strips over and under one another, pulling back strips as necessary to weave. (Here’s a lattice pie crust tutorial if you need visuals.) Use a small paring knife or kitchen shears to trim off excess dough. Fold the overhang back towards the center of the pie, and pinch the edges to adhere the top and bottom crusts together. Crimp or flute the pie crust edges to seal.
Lightly brush the top of the pie crust with the egg wash. Sprinkle the top with coarse sugar, if using. Optional: Refrigerate the pie for 20–30 minutes to help set the lattice’s shape.
Bake the pie on the middle oven rack for 25 minutes. I recommend placing a baking sheet on the bottom rack to catch any bubbling-over juices. After 25 minutes, keeping the pie in the oven, reduce the oven temperature to 375°F (190°C). Add a pie crust shield (see Note for homemade shield) to prevent the edges from over-browning. Continue baking until the pie is golden brown and the filling is bubbling through the lattice, 35–45 more minutes. If you want to be precise, the internal temperature of the filling taken with an instant-read thermometer should be around 200°F (93°C) when done. Tip: If needed towards the end of bake time, remove the pie crust shield and tent an entire piece of foil on top of the pie if the top looks like it’s getting too brown.
Remove pie from the oven, place on a cooling rack, and cool for at least 3 hours before slicing and serving. Filling will be too juicy if the pie is warm when you slice it.
Cover and store leftover pie at room temperature for up to 1 day or in the refrigerator for up to 5 days.
Reviews
Catherine on 2025-12-01 (5 stars): This was the first apple pie I've ever attempted and served it for Thanksgiving and it was an absolute win. Everyone loved the pie and I appreciated how simple it was to make. It wasn't overly sweet which is exactly what I was looking for.
I pre-cooked the apples as suggested and cooked it 400 for 20 minutes then reduced to 350 for remainder baking time until the inside reached the temperature Sally suggets in the recipe.
I also used Sally's All-Butter pie crust recipe to make the bottom crust and a lattice top and was in shock how beautiful the pastry puffed up and tasted. I did not add sugar to the lattice crust, only an egg yolk/milk wash. Thank you Sally!!
Rita Longardner on 2025-12-10 (5 stars): I made this apple pie recipe for Thanksgiving, plus made another one today. The Homemade Pie Dough recipe makes a dough that is so easy to work with, especially for a cutting pieces for the lattice crust. I did pre-cook the apples, as I have found that Granny Smith apples remain crunchy, if I don't. (Or the pie will be over-brown from the amount of time they need to cook.)
I used a few Granny Smiths, the rest were Jonathan and Honeycrisp. The flavor was so good; the recipe had just the right amount of spice. (I don't like nutmeg, so omitted that.)
Thanks, for sharing you recipes and how-to tips, Sally!--I have enjoyed so many of your recipes
Erika on 2026-01-02 (4 stars): I'm not much of a pie person, but made one for a family friend as apple pie is his favorite dessert. Of my own admission, I did a lot of things wrong, and the pie still turned out well. My advice - follow Sally's instructions!! LOL!
I used a food processor - she was right - it overworked the dough. I decided to remove the baking sheet to catch drippings - I should have left it (it bubbled over during the latter half of cooking).
For the amount of errors I made, this still turned out well. And my mom, who always gives me the straight up truth, said it was really good!
I'm not sure if I'll ever tackle it again (I'm much more of a cake/cookie person), but if you are a beginner pie maker, Sally definitely gives you the tips and tricks to have it turn out well - just don't be like me, and actually take the advice! :)