Watch the video tutorial (below) before beginning so you can easily shape this star bread masterpiece. What I love most about this homemade bread recipe, besides its ability to impress EVERYONE, is that the rise times have been reduced. If the bread rises for too long, it could lose its shape. I love a shortcut recipe!
Recipe by Sally on November 6, 2018
Prep time: PT2H30M
Cook time: PT30M
Total time: PT3H
Rating
4.8 stars ( reviews)
Keywords
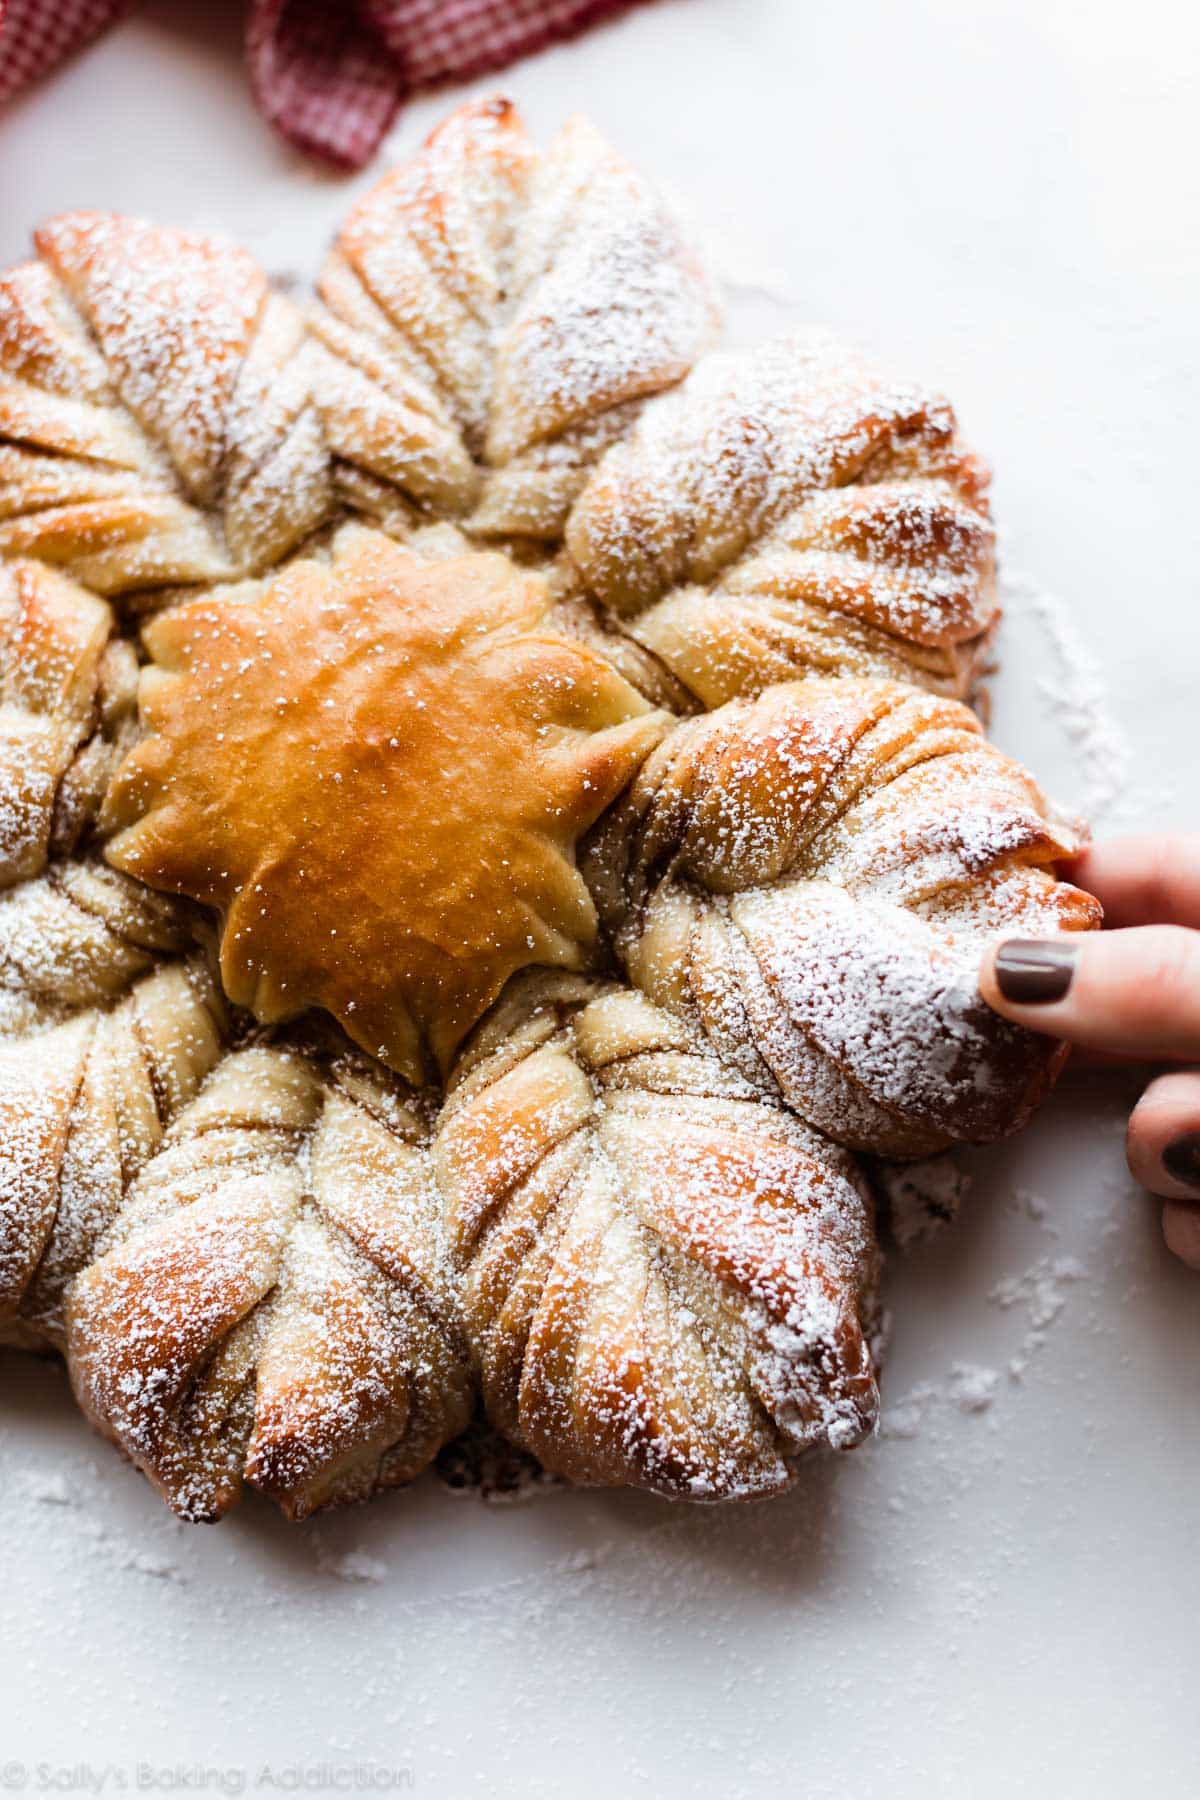
star bread
Ingredients
2 teaspoons instant or active dry yeast*
3 Tablespoons granulated sugar
3/4 cup (180ml) whole milk
1/4 cup (4 Tbsp; 56g) unsalted butter, softened to room temperature
1 large egg
2 and 1/3 cups (291g) all-purpose flour (spooned & leveled), plus more as needed
1 teaspoon salt
filling (see recipe note)
egg wash: 1 large egg beaten with 1 Tablespoon (15ml) milk
2 Tablespoons confectioners’ sugar
Categories
Bread
Cuisine
American
Steps
Place the yeast and sugar in the bowl of a stand mixer fitted with a dough hook or paddle attachment. Or, if you do not own a stand mixer, a regular large mixing bowl. Heat the milk on the stove or in the microwave until warm to touch, about 110°F (43°C). Pour warm milk on top of yeast/sugar. Whisk gently to combine, then loosely cover with a clean kitchen towel and allow to sit for 5-10 minutes. The mixture will be frothy after 5-10 minutes.
Add the butter, egg, flour, and salt. Beat on low speed for 3 minutes. Dough will be soft. Using lightly floured hands, form it into a ball. If the dough is too sticky to handle, add 1-3 more Tablespoons of flour, but you want a very soft dough.
Place the dough in a greased bowl (nonstick spray is fine) and cover with plastic wrap or aluminum foil. Place in a slightly warm environment to rise until doubled in size, around 60-90 minutes. For this warm spot, I suggest using the oven. Preheat to 150°F, then turn the oven off after preheating. Place the covered bowl inside and shut the oven door. This is your warm environment.
Line a large baking sheet with parchment paper or a silicone baking mat and prepare your star bread filling. See all my options in the recipe notes below.
Watch the video above to guide you through this step. Punch down the dough to release the air. Place dough on a lightly floured work surface. Divide into 4 equal pieces and, with a floured rolling pin, roll each out into a thin 10-inch circle. Place the bottom circle on prepared baking sheet. If it lost its circle shape, use your hands to form the edges back into a round shape. Top with filling, then layer the remaining circles and filling on top. The top layer does not have filling on it, so only 3 of the 4 circles will be topped with filling. Using a sharp knife or pizza cutter, cut any scraps around the edges so you have an even circle. Place a 3 inch round object or bowl in the center and make an indent. This is the center of the star. Now it’s time to cut strips from the edge to the center 3-inch circle. Using a pizza cutter, cut 16 even strips. Using both hands, grab two strips and twist them away from each other twice, then press the two ends together to make a point. Your star bread will have 8 points.
Cover the shaped bread with plastic wrap or aluminum foil and let it rest for 20 minutes.
Preheat oven to 350°F (177°C).
Using a pastry brush, lightly brush the star bread with egg wash. This ensures a beautifully shiny golden brown bread. Bake for about 25- 30 minutes or until golden brown on top. If you notice the top or points browning too quickly, loosely tent the star bread with aluminum foil. Remove from the oven and cool for 5 minutes.
Dust confectioners’ sugar on top and enjoy warm. Cover and store leftover star bread at room temperature for 1-2 days or in the refrigerator for 4-5 days.
Reviews
Christine Dragoo on 2025-12-31 (5 stars): It’s delicious. The circles are hard to shape so I just did my best and cut quite a bit off the edges to make a circle shape, and I gathered up the scraps and baked them in a muffin tin (I had 3 muffins’ worth) and that was a fun extra treat to sample before serving the actual bread. I did cinnamon sugar filling and my house smells incredible.
Mary on 2026-01-02 (5 stars): Surprised my family with this. They loved it and I think my son just went for his third piece. I made a cinnamon spread with walnuts
Caiti on 2026-01-25 (5 stars): I'll admit, I was a little skeptical when layering this together. The dough was very delicate and flat, and I did not think it would turn out as expected. The outcome, however, was so beautiful! I was so amazed at how well it rose when baked, the layers came out so light and buttery, and it was overall a success. Will absolutely be making this again!
Jill on 2026-01-25 (5 stars): I just took mine out of the oven. It's almost too pretty to eat! My dough was super sticky, I'm worried the extra flour I had to add didn't ruin the flavor.
My 5-year old grandson loves baking with me and we'll make recipe together tomorrow.
Thank for the perfect video tutorial!
makenzie on 2026-02-18 (5 stars): I think I used more like 3 cups of flour. I also used whole wheat. My family devoured it!!!