logo

Maple Syrup Snow Candy

Maple Syrup Snow CandyMaple Syrup Snow CandyMaple Syrup Snow CandyMaple Syrup Snow Candy

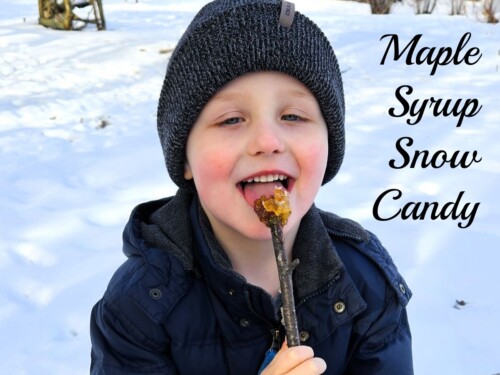
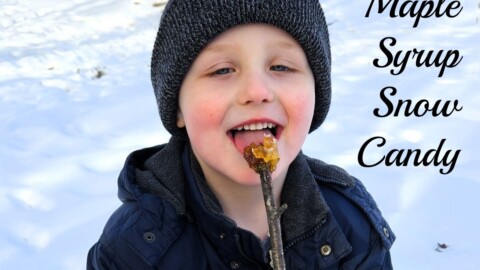
Easy instructions for making maple syrup candy on sticks, using fresh snow. A great winter activity for kids and adults.

Prep time: PT5M

Cook time: PT10M

Total time: PT15M

Rating

5 stars (1 reviews)

Keywords

Canadian food, candy, cooking with kids, maple syrup, maple syrup candy, maple syrup snow candy

Ingredients

Categories

Cuisine

Steps

  1. Prepare a large pan (9x13-inch/22x33cm or larger) by filling it with fresh, fluffy, clean snow. Pack it down firmly and smooth the top. Keep the pan outside if it's cool enough, or put it into the refrigerator or freezer to keep cold while you prepare the syrup.
  2. Boil the maple syrup in a small saucepan over medium-high heat, until it hits the soft ball stage - the temperature reaches between 235-240℉ (113-115℃) on a candy thermometer - about 8 to 10 minutes.
  3. Take the pot of hot syrup immediately outside to the pan of snow (or remove the snow pan from the fridge or freezer if making the candy inside) and pour a thin stream of hot syrup onto the snow in a 5-6-inch (12-15cm) strip. Lay the tip of a popsicle stick or twig onto one end of the syrup trail, then roll it up, wrapping the hardening syrup around the end of the stick. There will be bits of snow stuck to the candy - those will melt, leaving only candy on the stick.
  4. Repeat quickly with the rest of the syrup before it hardens, making 12 to 15 maple syrup lollipops.
  5. Eat the lollipops immediately or stick the handles into the snow to keep them from sticking together and eat within a few hours. Uneaten maple syrup lollipops can be individually wrapped with parchment paper, stuck into a bigger resealable bag, and frozen for a few days.

Related Recipes